 Каждый, кто встречался с девушкой (-ами), знает, как эти прекрасные создания любят комплименты в свой адрес. А у нас, мужского населения планеты Земля, не всегда хватает слов, чтобы выразить свои чувства или просто сказать что-то красивое. Понимание этой проблемы натолкнуло нас на создание
 В первой части я расскажу о целях, которые мы поставили (концепт приложения), и средствах достижения этих целей, которые мы избрали (Phonegap + Ionic + Restangular + Phonegap Plugin Magic). Этот пост будет полезен как начинающим, так и опытным разработчикам мобильного ПО.
Примечание: ссылки на финальную версию приложения и на GitHub можно найти в подвале поста.
Подготовка
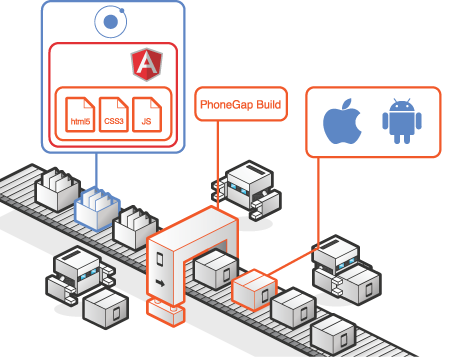
Так как времени было мало (неделя), а сделать надо было много (да и в AppStore не сразу попадешь), то цель была ясна с самого начала: делаем кроссплатформенное приложение, чтобы собиралось из одного места сразу и на всё. Выбрали Phonegap. И, раз теперь есть возможность писать на HTML+JS+CSS, то можно взять на вооружение фреймворк. AngularJS подойдет. Сам генератор будет крутиться на отдельном сервере (его в этом посте рассматривать на будем) — общаться с ним будем по REST. Отличная библиотека для этих целей — Restangular.
Быстрый старт на Phonegap + AngularJS
(источник)На Хабре есть несколько статей по разработке мобильных приложений на AngularJS. Например, тут. Но в них обычно, как во сне, действие начинается с середины: «У вас есть прототип на NodeJS by Yeoman с уже подключенным AngularJS — я расскажу, как добавить в него поддержку touch и gestures» и т. д. Постараемся в этом посте начать сначала: у вас есть комп с операционной системой (в нашем случае, windows 8) и установленными на ней JDK, Git, NodeJs , Python и IDE (в нашем случае, IntelliJ IDEA 13). Если чего-то из этого нет, то купите или установите — вся информация по ссылкам.
Для начала, установим в систему Phonegap CLI
С помощью NodeJS все делается очень быстро через командную строку:
npm install -g phonegap
После завершения скрипта в вашей системе появится возможность использовать Phonegap CLI из любого места за счет глобальной пролинковки (атрибут
-g в команде установки). Теперь создайте директорию под проект и зайдите в нееcd D:\workspace\march8\modules\
Теперь создадим проект мобильного приложения с помощью Phonegap CLI:
phonegap create client com.somecompany.compliments Compliments
, где
client — название директории дислоцирования мобильного приложения на Phonegap, com.somecompany.compliments — пакет, в котором будет находиться основная Activity, а Compliments — название приложения.Ура! Теперь у нас есть проект на Phonegap. Соберем и протестируем его на Android. Подключите тестовое устройство (в нашем случае это Samsung Galaxy S III и Samsung Galaxy Tab 10.1) или настройте эмулятор и выполните следующий код в командной строке:
cd client
phonegap run android
Этот скрипт добавит проект для Android в папку platforms, скомпилирует его и установит на устройство или эмулятор.
Скриншот экрана устройства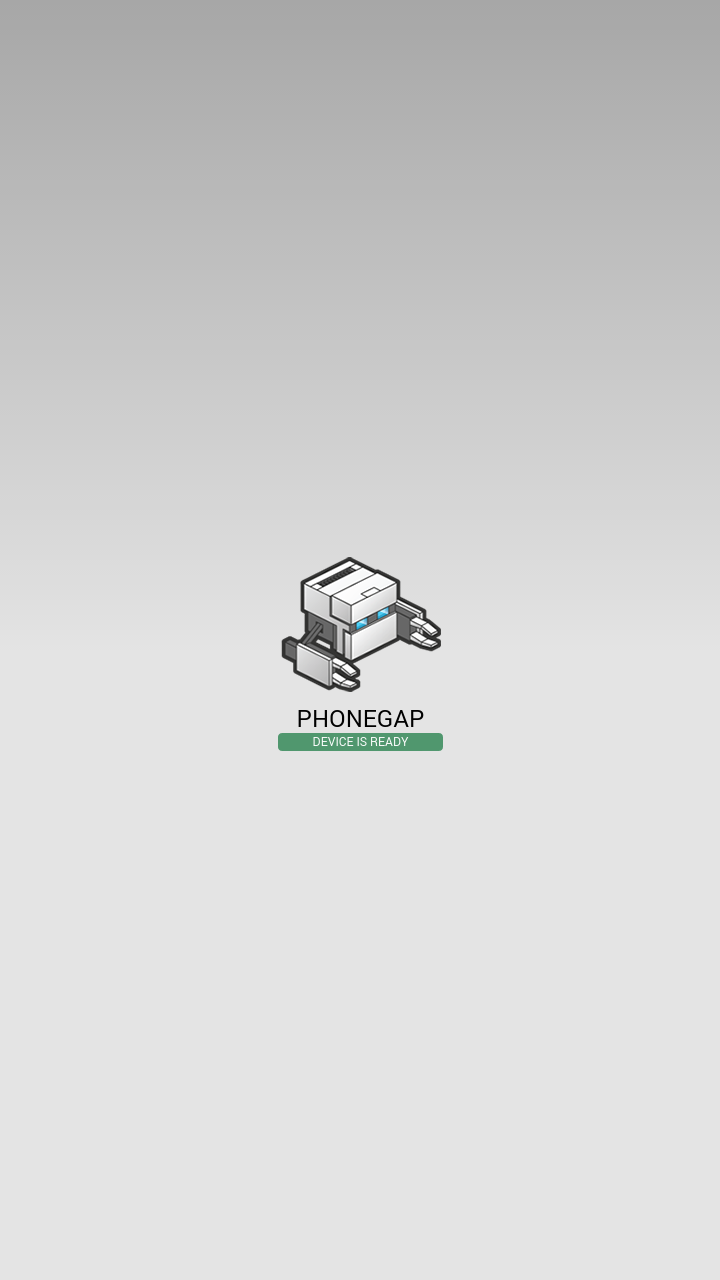

Теперь нужно почистить проект от ненужных файлов:
del www\spec.html
rmdir /s www\spec
del www\img\logo.png
del www\css\index.css
cd www
rename index.html index-old.html
Подключаем AngularJS к проекту
Самое простое решение данной задачи (как описано в вышеупомянутом источнике) — воспользоваться проектом Angular Seed — выгрузим его в директорию
modules:cd ../../
git clone https://github.com/angular/angular-seed.git
После выполнения скрипта вы увидите новую директорию angular-seed. Вытащим из нее нужные нам файлы:
copy angular-seed\app\js\* client\www\js\
copy angular-seed\app\css\* client\www\css\
xcopy angular-seed\app\lib client\www\lib\ /e
xcopy angular-seed\app\partials client\www\partials\ /e
copy angular-seed\app\index.html client\www\index.html
Немного поправим код нового
index.html вставками из index-old.html (пока что воспользуемся блокнотом):Исходный код index.html
<!doctype html>
<html lang="en" ng-app="myApp">
<head>
  <meta charset="utf-8">
  <title>My AngularJS App</title>
  <link rel="stylesheet" href="css/app.css"/>
</head>
<body>
  <ul class="menu">
    <li><a href="#/view1">view1</a></li>
    <li><a href="#/view2">view2</a></li>
  </ul>

  <div ng-view></div>

  <div>Angular seed app: v<span app-version></span></div>

  <!-- In production use:
  <script src="//ajax.googleapis.com/ajax/libs/angularjs/x.x.x/angular.min.js"></script>
  -->
  <script src="lib/angular/angular.js"></script>
  <script src="lib/angular/angular-route.js"></script>
  <script src="js/app.js"></script>
  <script src="js/services.js"></script>
  <script src="js/controllers.js"></script>
  <script src="js/filters.js"></script>
  <script src="js/directives.js"></script>
</body>
</html>
Исходный код index-old.html
<!DOCTYPE html>
<!--
    Licensed to the Apache Software Foundation (ASF) under one
    or more contributor license agreements.  See the NOTICE file
    distributed with this work for additional information
    regarding copyright ownership.  The ASF licenses this file
    to you under the Apache License, Version 2.0 (the
    "License"); you may not use this file except in compliance
    with the License.  You may obtain a copy of the License at

    http://www.apache.org/licenses/LICENSE-2.0

    Unless required by applicable law or agreed to in writing,
    software distributed under the License is distributed on an
    "AS IS" BASIS, WITHOUT WARRANTIES OR CONDITIONS OF ANY
     KIND, either express or implied.  See the License for the
    specific language governing permissions and limitations
    under the License.
-->
<html>
    <head>
        <meta charset="utf-8" />
        <meta name="format-detection" content="telephone=no" />
        <!-- WARNING: for iOS 7, remove the width=device-width and height=device-height attributes. See https://issues.apache.org/jira/browse/CB-4323 -->
        <meta name="viewport" content="user-scalable=no, initial-scale=1, maximum-scale=1, minimum-scale=1, width=device-width, height=device-height, target-densitydpi=device-dpi" />
        <link rel="stylesheet" type="text/css" href="css/index.css" />
        <title>Hello World</title>
    </head>
    <body>
        <div class="app">
            <h1>PhoneGap</h1>
            <div id="deviceready" class="blink">
                <p class="event listening">Connecting to Device</p>
                <p class="event received">Device is Ready</p>
            </div>
        </div>
        <script type="text/javascript" src="phonegap.js"></script>
        <script type="text/javascript" src="js/index.js"></script>
        <script type="text/javascript">
            app.initialize();
        </script>
    </body>
</html>
- Вытащим настройки
viewport(строки 23-25):
<meta name="format-detection" content="telephone=no" />
<!-- WARNING: for iOS 7, remove the width=device-width and height=device-height attributes. See https://issues.apache.org/jira/browse/CB-4323 -->
<meta name="viewport" content="user-scalable=no, initial-scale=1, maximum-scale=1, minimum-scale=1, width=device-width, height=device-height, target-densitydpi=device-dpi" />
- Перенесем также строки, подключающие и инициирующие Phonegap:
- строки 37-38 нужно перенести до подключения AngularJS
- строки 39-41 нужно вставить перед закрывающим тегом
Измененный файл index.html
<!doctype html>
<html lang="en" ng-app="myApp">
<head>
  <meta charset="utf-8">
  <meta name="format-detection" content="telephone=no" />
  <!-- WARNING: for iOS 7, remove the width=device-width and height=device-height attributes. See https://issues.apache.org/jira/browse/CB-4323 -->
  <meta name="viewport" content="user-scalable=no, initial-scale=1, maximum-scale=1, minimum-scale=1, width=device-width, height=device-height, target-densitydpi=device-dpi" />
  <title>My AngularJS App</title>
  <link rel="stylesheet" href="css/app.css"/>
</head>
<body>
  <ul class="menu">
    <li><a href="#/view1">view1</a></li>
    <li><a href="#/view2">view2</a></li>
  </ul>

  <div ng-view></div>

  <div>Angular seed app: v<span app-version></span></div>

  <script type="text/javascript" src="phonegap.js"></script>
  <script type="text/javascript" src="js/index.js"></script>
  <!-- In production use:
  <script src="//ajax.googleapis.com/ajax/libs/angularjs/x.x.x/angular.min.js"></script>
  -->
  <script src="lib/angular/angular.js"></script>
  <script src="lib/angular/angular-route.js"></script>
  <script src="js/app.js"></script>
  <script src="js/services.js"></script>
  <script src="js/controllers.js"></script>
  <script src="js/filters.js"></script>
  <script src="js/directives.js"></script>
  <script type="text/javascript">
    app.initialize();
  </script>
</body>
</html>
Теперь файл
index-old.html нам не нужен — удаляем его:del client\www\index-old.html
И наконец, внесем правки в
index.js, который отвечает за инициализацию Phonegap. Исходный код index.js
/*
 * Licensed to the Apache Software Foundation (ASF) under one
 * or more contributor license agreements.  See the NOTICE file
 * distributed with this work for additional information
 * regarding copyright ownership.  The ASF licenses this file
 * to you under the Apache License, Version 2.0 (the
 * "License"); you may not use this file except in compliance
 * with the License.  You may obtain a copy of the License at
 *
 * http://www.apache.org/licenses/LICENSE-2.0
 *
 * Unless required by applicable law or agreed to in writing,
 * software distributed under the License is distributed on an
 * "AS IS" BASIS, WITHOUT WARRANTIES OR CONDITIONS OF ANY
 * KIND, either express or implied.  See the License for the
 * specific language governing permissions and limitations
 * under the License.
 */
var app = {
    // Application Constructor
    initialize: function() {
        this.bindEvents();
    },
    // Bind Event Listeners
    //
    // Bind any events that are required on startup. Common events are:
    // 'load', 'deviceready', 'offline', and 'online'.
    bindEvents: function() {
        document.addEventListener('deviceready', this.onDeviceReady, false);
    },
    // deviceready Event Handler
    //
    // The scope of 'this' is the event. In order to call the 'receivedEvent'
    // function, we must explicity call 'app.receivedEvent(...);'
    onDeviceReady: function() {
        app.receivedEvent('deviceready');
    },
    // Update DOM on a Received Event
    receivedEvent: function(id) {
        var parentElement = document.getElementById(id);
        var listeningElement = parentElement.querySelector('.listening');
        var receivedElement = parentElement.querySelector('.received');

        listeningElement.setAttribute('style', 'display:none;');
        receivedElement.setAttribute('style', 'display:block;');

        console.log('Received Event: ' + id);
    }
};
Необходимо изменить функцию
receivedEvent (строка 39 и дальше), чтобы она выглядела следующим образом:receivedEvent: function(id) {
console.log('Received Event: ' + id);
angular.bootstrap(document, ["myApp"]);
}
Измененный index.js
/*
* Licensed to the Apache Software Foundation (ASF) under one
* or more contributor license agreements. See the NOTICE file
* distributed with this work for additional information
* regarding copyright ownership. The ASF licenses this file
* to you under the Apache License, Version 2.0 (the
* "License"); you may not use this file except in compliance
* with the License. You may obtain a copy of the License at
*
* http://www.apache.org/licenses/LICENSE-2.0
*
* Unless required by applicable law or agreed to in writing,
* software distributed under the License is distributed on an
* "AS IS" BASIS, WITHOUT WARRANTIES OR CONDITIONS OF ANY
* KIND, either express or implied. See the License for the
* specific language governing permissions and limitations
* under the License.
*/
var app = {
// Application Constructor
initialize: function() {
this.bindEvents();
},
// Bind Event Listeners
//
// Bind any events that are required on startup. Common events are:
// 'load', 'deviceready', 'offline', and 'online'.
bindEvents: function() {
document.addEventListener('deviceready', this.onDeviceReady, false);
},
// deviceready Event Handler
//
// The scope of 'this' is the event. In order to call the 'receivedEvent'
// function, we must explicity call 'app.receivedEvent(...);'
onDeviceReady: function() {
app.receivedEvent('deviceready');
},
// Update DOM on a Received Event
receivedEvent: function(id) {
	console.log('Received Event: ' + id);
	angular.bootstrap(document, ["myApp"]);
}
};
Полезно знать: так как в проекте по событию инициализации Phonegap выполняется инициализация AngularJS через вызов
angular.bootstrap(document, ["myApp"]);
, то в
index.html у тега не должно быть объявлено атрибута ng-app, иначе возникнет ошибка повторной инициализации AngularJS описание.
Вот и все! Теперь осталось собрать приложение под Android и запустить на тестовом устройстве. Снова выполним:
cd client
phonegap run android
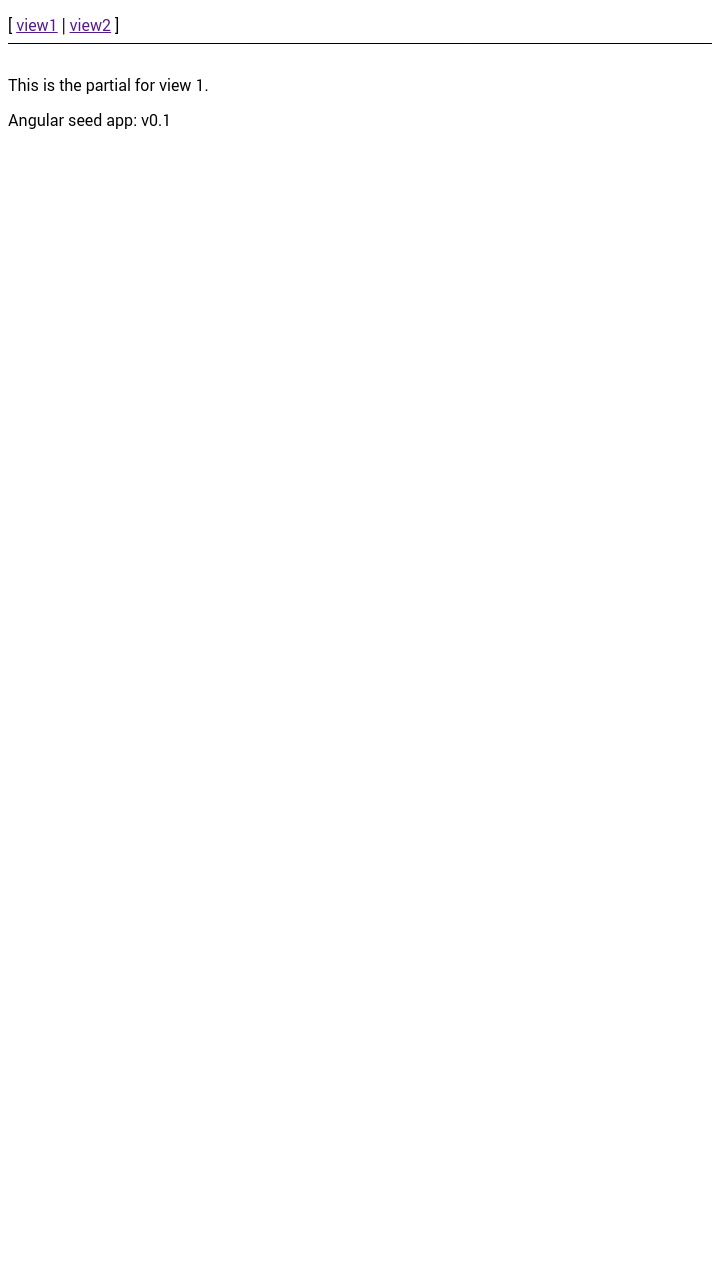
В результате, на экране вы должны увидеть примерно следующее:
Скриншот экрана устройства
Должен работать переход между view и отображаться версия приложения, передаваемая через сервисы и директивы. Далее, меняя бизнес-логику средствами AngularJS можно построить довольно серьезное мобильное приложение.
На этом я закончу первую часть из запланированных трех. В следующей части я расскажу о том, почему нам не понравилось обновлять экран по кнопке, и как Ionic Framework помог нам достичь желаемых результатов.
Спасибо за внимание!
Дополнительная информация
Приложение на Play Market: ссылка
Приложение на AppStore: не дали разрешения - поборемся за клиента в следующих частях!
Исходники на GitHub: ссылка